

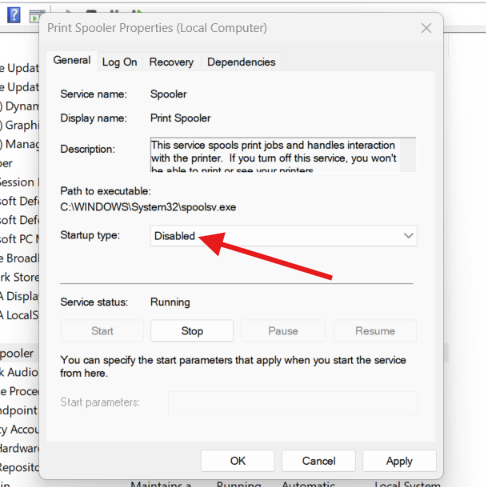
The Windows Health and Optimization Experiences Service works alongside Windows Update, Diagnostics services, and various “recommended actions” shown throughout Windows 11. However, this isn’t a core Windows function and is not essential for Windows to boot or perform basic tasks. So, you can safely remove it if you want. Doing so will just remove some personalized recommendations and health insights that Microsoft uses to improve the user experience.
This service is responsible for delivering personalized health recommendations in Windows settings. Based on your device usage, you get optimization suggestions. This service is integrated with Windows Health features introduced in the recent Windows 11 releases.
The service is not responsible for or related to Windows security or other basic Windows update functionality. If you have already disabled most Windows telemetry and cloud experiences, you probably don’t need this function as well.
However, you will lose device health suggestions, personalized optimization recommendations, and future Microsoft experience improvements.
Does Disabling It Improve Performance?
Most people want to disable it for performance gains, but this service has a very low memory usage. After disabling it, you will just see one fewer background service running. On my computer, I hardly see this service using a memory more than 20MB.
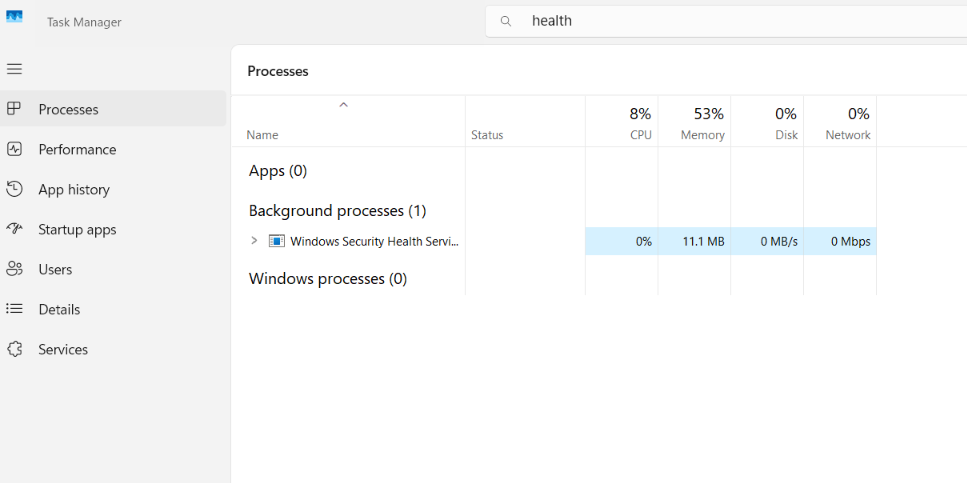
For most systems, the impact on CPU, RAM, and gaming performance is negligible. So, disabling this service should be viewed as a privacy or minimalism tweak rather than a performance optimization.
Method 1: Disable using Services (Recommended)
- Press Windows + R and type Services.msc
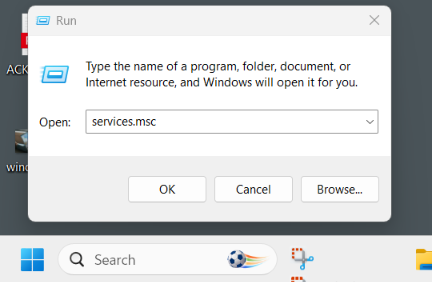
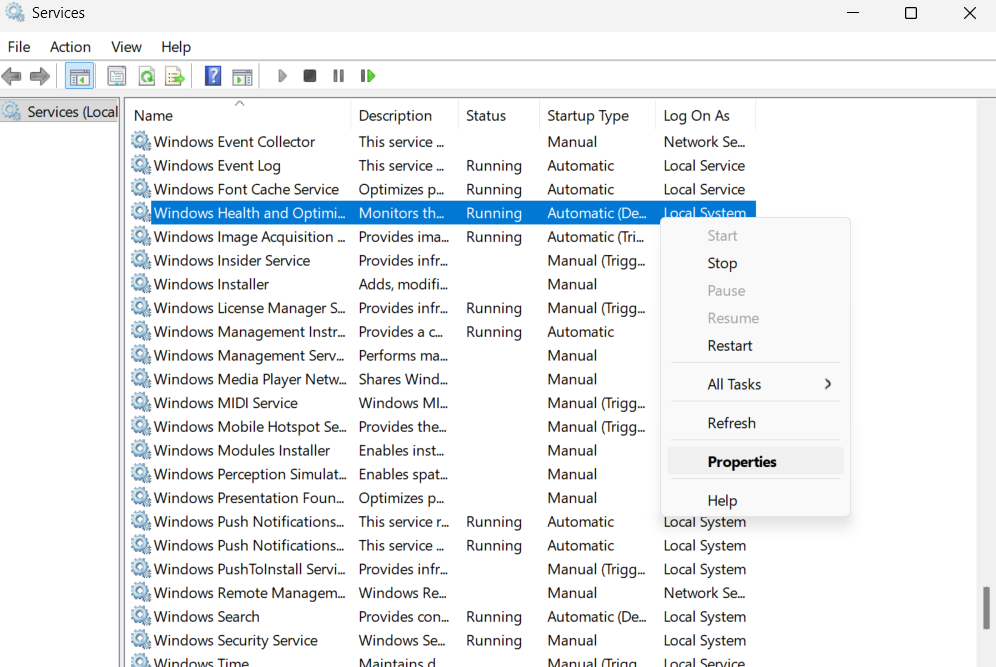
- Scroll down until you find Windows Health and Optimization Service. Double-click the service or choose the Properties option through a right-click.
- Click Stop and then set the startup type to Disabled. Then hit Apply and OK.
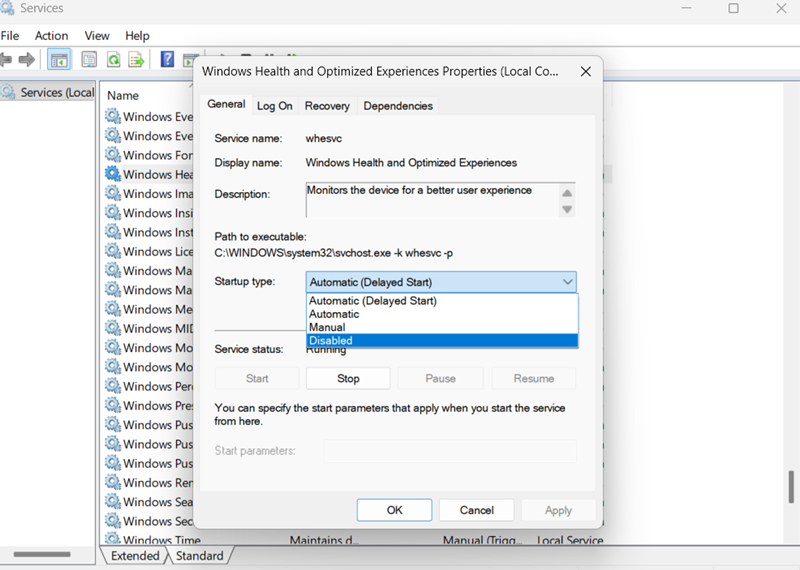
You can then restart the PC.
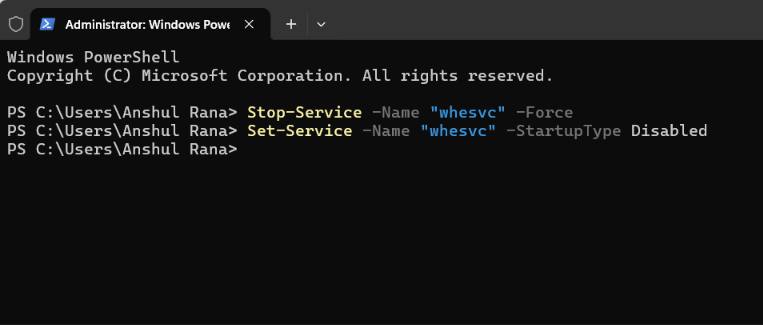
Method 2: Disable Using PowerShell
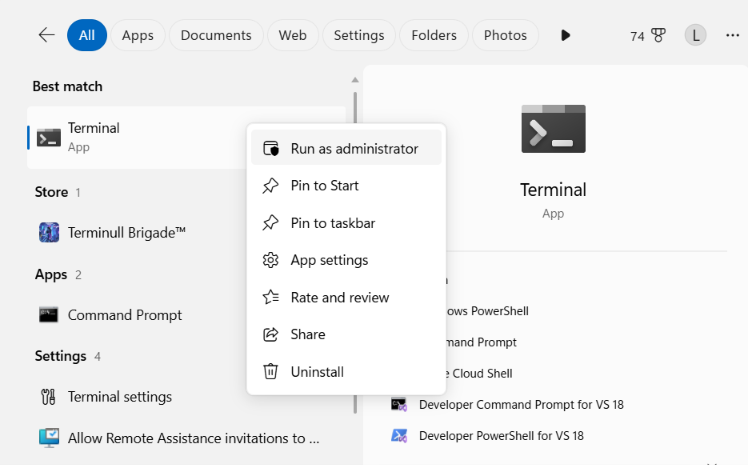
- Open Windows Terminal as Administrator.
- Type in these commands one by one. Replace the ServiceName with the actual service name in the services menu. Check the image below.
Stop-Service -Name "ServiceName" -Force
Set-Service -Name "ServiceName" -StartupType Disabled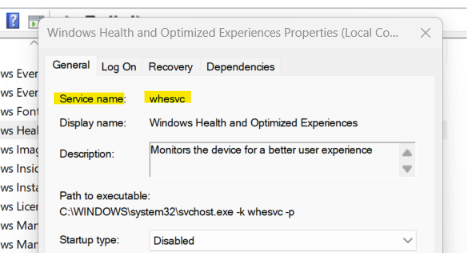
Method 3: Disable Using Command Prompt
Open Command Prompt as Administrator.
Run:
sc stop ServiceName
sc config ServiceName start= disabled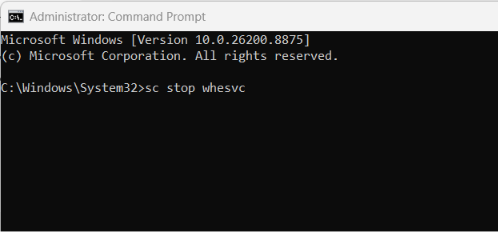
Notice the required space after start=.
There is another method using the Registry Editor, but I wouldn’t recommend that if you are not a power user or know the technical stuff of how Windows works. So, these methods should work and help you disable this service.